The three-attempt boss method
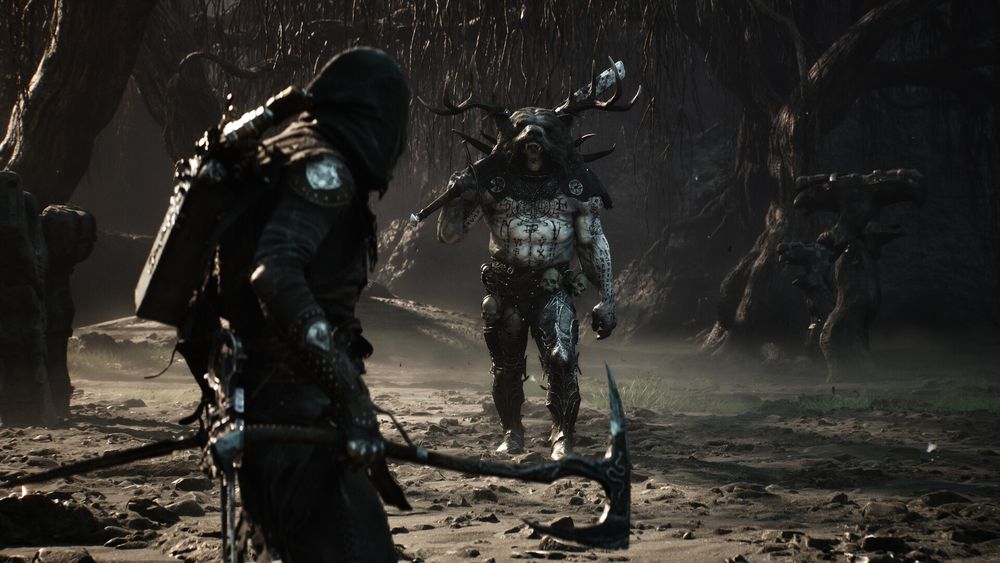
Do not judge the first attempt by boss health. Its job is to show where the sequence actually ends, whether the arena changes spacing and which action creates the first reliable punish.
Break posture without forcing it
Official material confirms that combat lets players shatter enemy posture and strike critically. The safe method is to build pressure during known recoveries, preserve the exit, and extend only when the same cue repeats.
- 01Identify the full string
Do not punish the pause between attacks if the sequence continues.
- 02Use the shortest posture tool
Choose the action that fits the confirmed recovery.
- 03Take the critical window
Move immediately when the posture break is real; do not spend it on another setup.
- 04Reset position
Recenter before the boss starts the next sequence.
Five checks before the arena
- Know the primary weapon's shortest safe attack.
- Give the sidearm one defined job: interruption, range or finishing.
- Use a Shell whose abilities address the failure that repeats.
- Enter with a camera and terrain plan, not only a damage plan.
- Change one slot at a time so the result remains readable.
Diagnose the loss
| Failure | Correction |
|---|---|
| Hit during your recovery | Use the shorter attack or wait for the real string ending |
| Posture resets repeatedly | Find a safer pressure action rather than extending the full combo |
| Sidearm is always empty at the wall | Reserve it for the repeated problem it is meant to solve |
| Camera loses the boss | Move away from the wall before dealing damage |
| Build changes do not help | Return to the last stable loadout and change one variable |
Boss FAQ
How do I create a critical opportunity?
Official descriptions connect critical strikes to breaking enemy posture. Build pressure during confirmed openings rather than trading to force the break.
Is there a Monolith guide?
Yes. The Monolith guide covers the melee parry window, fixed laser bands and the rotating-laser end phase.
Official sources
This guide separates official facts, independently cross-checked launch information and field-testing advice. Patch-sensitive costs, drop rates and damage values are omitted unless the current build and accessible evidence agree.