20 keywords · 13 distinct player questions
Mortal Shell II Guides
The research set was clustered by intent: near-duplicate searches strengthen one answer, while a genuinely different task receives its own route. Every page begins with the direct answer.
Start and progress
Learn the route before optimizing it
Use these when the level menu, defensive timing, travel network or main progression path is the blocker.
 01Field guide
Mortal Shell II Level Up Guide: Gloom & Shell Points
Level up in Mortal Shell II at Marrow Keep: unlock the Beacon menu, spend Gloom safely, understand Shell Points, and avoid losing currency today.
Read guide → 02Field guide
Mortal Shell II: How to Parry, Guard & Handle Red Attacks
How to parry in Mortal Shell II: equip a parry Seal, read the strike, choose Guard or Harden when safer, and fix early inputs or red-attack failures.
Read guide → 03Field guide
How to Unlock Fast Travel
Unlock Mortal Shell II fast travel, understand tagged and cleansed Beacons, and avoid confusing map discovery with travel availability during exploration.
Read guide → 10Field guide
Mortal Shell II Progression Guide: What to Do Next
Follow a spoiler-light Mortal Shell II progression guide from the prologue and Marrow Keep through Fainweald and Mammon, with clear next-step checks.
Read guide →Find and improve equipment
Turn a missing tool into a checkable route
Use these when you need a Shell, primary weapon, sidearm, Tarforge plan or map landmark.
 04Field guide
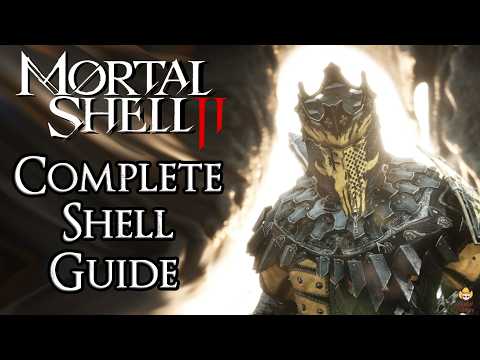
All Permanent Shell Locations
Find all eight permanent Shells in Mortal Shell II with region, landmark, route and unlock-condition clues instead of relying on a context-free tier list.
Read guide →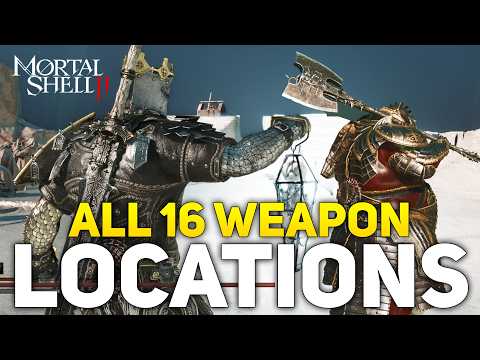 05Field guide
All Primary Weapon Locations
Locate Mortal Shell II's eight primary weapons by region, dungeon, landmark and boss condition, with a practical checklist for a clean arsenal route.
Read guide →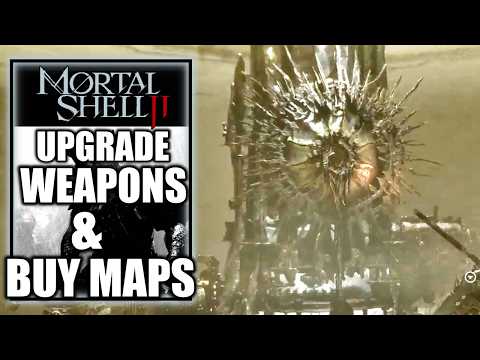 06Field guide
Mortal Shell II Weapon Reset & Upgrades: Tarforge Smelting
Reset an upgraded weapon with Smelt at the Tarforge, then verify the current Gloom cost and returned materials before rebuilding weapons, sidearms or Tarstones.
Read guide → 07Field guide
All Sidearms and Their Roles
Track all eight Mortal Shell II sidearms, their locations and the combat problem each utility slot can solve, from interruption to range and crowd control.
Read guide →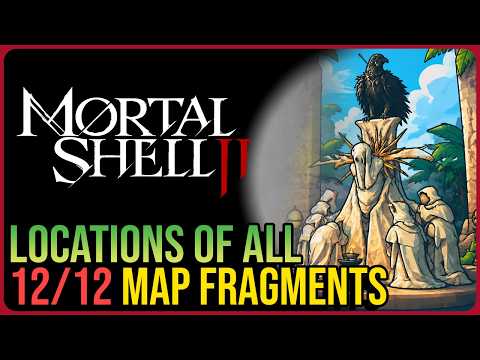 09Field guide
Mortal Shell II Map Fragments: All 11 Ruk Locations
Find all 11 Mortal Shell II map fragments: five Ruk locations in Fainweald and six in Mammon, with Beacon anchors and an interactive checklist.
Read guide →Encounter and platform checks
Solve one named fight or setup decision
Use these for the Monolith, edition contents, PC requirements or a measured settings pass.
 08Field guide
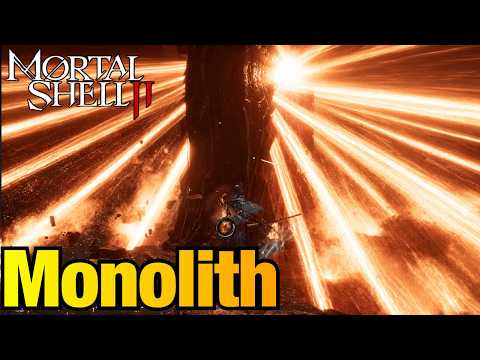
Mortal Shell II Monolith Boss Guide: Lasers & Parries
Beat Monolith after Balance Patch 1: parry one readable melee string, take the critical opening, move behind fixed lasers and cross rotating beams safely.
Read guide → 11Field guide
Devout Edition: What Is Included?
Compare Mortal Shell II Standard and Devout editions using official store listings, including the cosmetic Obsidian skin set for all eight playable Shells.
Read guide → 12Field guide
PC Requirements and Storage
Check the official Mortal Shell II minimum PC specification, 70 GB SSD requirement and a practical pre-purchase checklist for desktops and gaming laptops.
Read guide →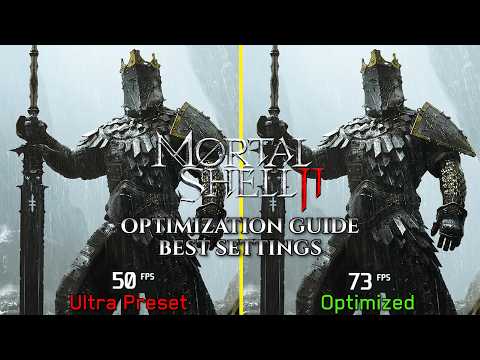 13Field guide
Best PC Settings: A Stable Test Method
Tune Mortal Shell II for stable performance by testing resolution, upscaling, ray tracing, shadows and effects one variable at a time on a repeatable route.
Read guide →