Direct answer
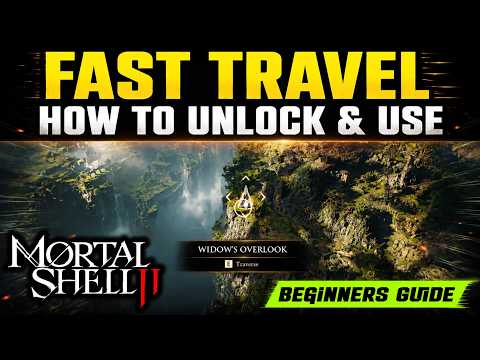
Reach Marrow Keep, continue collecting and siphoning Ova, and progress until the travel function opens. Beacons must be discovered—and some must be cleansed—before they become useful route anchors.
This guide separates official facts, independently cross-checked launch information and field-testing advice. Patch-sensitive costs, drop rates and damage values are omitted unless the current build and accessible evidence agree.
Quick route
- 01Reach Marrow Keep after the prologue.
- 02Collect and siphon five additional Ova to advance the hub state.
- 03Tag Beacons as you explore and clear their corruption where required.
- 04Use the travel interface from the hub route, then verify the destination name before leaving.
Why the option is missing
Seeing a Beacon does not mean the full network is already active. The system is progression-gated, so an early player can rest at checkpoints while still lacking unrestricted travel.
The reviewed launch guides place the important unlock after the first Marrow Keep visit and additional Ova progression. If the option is absent, check story progress before troubleshooting controls.
Tagged versus cleansed
A tagged Beacon is a discovered landmark. A corrupted Beacon can require its attached challenge before it functions as the safe route anchor you expect.
Record the exact Beacon name when a route guide uses it. Region labels alone are too broad once Fainweald and Mammon each contain multiple checkpoints.
Build a useful network
Activate the nearest Beacon before entering a dungeon, then identify the return path before pushing deeper. This turns fast travel into route planning rather than a repair button used after getting lost.
- Tag crossroads even when you do not need to rest.
- Pair each map fragment with nearby Beacon names.
- Return to spend Gloom before a long, unfamiliar branch.
If travel still fails
Confirm that you are using the same save, the destination was actually discovered, the local corruption was cleared where required, and the hub progression occurred. A video recorded in an early build may show a different requirement, so favor current launch information.
Watch the route or mechanic
The transcript was reviewed during material collection. Use the video for visual landmarks and timing; use the written guide to keep the decision sequence visible.
Accessible sources
Official game, world and mechanics overview.
Playstack · Cold Symmetry · Checked Aug 24, 2026Official release, platform and system information.
Valve · Playstack · Checked Aug 24, 2026Visual route or mechanic evidence with an accessible English transcript.
YouTube field evidence · Checked Aug 24, 2026