Direct answer
Finish the prologue, establish Marrow Keep, open the first Fainweald Beacon routes and use each blocked path to identify the missing upgrade, traversal tool, boss or region objective. Enter Mammon only after one Shell and weapon loop is proven.
This guide separates official facts, independently cross-checked launch information and field-testing advice. Patch-sensitive costs, drop rates and damage values are omitted unless the current build and accessible evidence agree.
Quick route
- 01Prologue: learn Harden, take Harros, Iconoclast and Naylshotte.
- 02Marrow Keep: find the Beacon, leveling menu, merchants and Tarforge.
- 03Fainweald: establish Widow's Overlook, Blackridge Pass and nearby Shell routes.
- 04At a blocked route: check story progress, corruption, traversal and the nearest named Beacon.
- 05Mammon: enter with a tested build, mapped retreat and current-version checks.
Fix the problem fast
| What you see | Check | Next action |
|---|---|---|
| The next path is closed | Check hub conversations, local corruption, traversal and the other region objective. | Return to Marrow Keep first, then revisit the nearest named Beacon. |
| You can enter Mammon but cannot progress | Verify one Shell, weapon and defensive loop works on a familiar route. | Upgrade one layer and map a retreat before rebuilding the whole loadout. |
| Repeated exploration finds nothing new | Check whether the route opens a Beacon, fragment, Shell or weapon. | Choose the shortest branch that produces one of those permanent anchors. |
Prologue and Marrow Keep
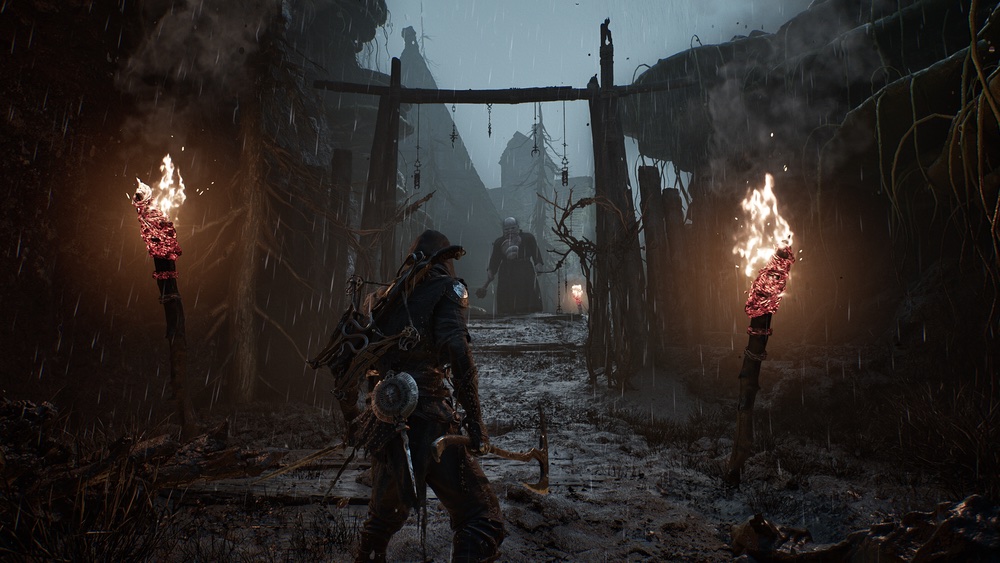
Treat the prologue as a systems tutorial, not a speedrun. Test Harden during an attack, learn one parry cue and note how death and Gloom recovery work.
At Marrow Keep, locate the central Beacon, Tarforge, Shell facilities and merchants before leaving. This hub knowledge saves repeated searching later.
First Fainweald circuit
Use Widow's Overlook as the first field anchor. Claim an early Shell, tag Blackridge Pass and Mushroom Village, then return to spend Gloom before attempting a corruption gate.
The best next step is the one that opens a Beacon, map fragment, Shell or weapon while preserving a clear return path.
Gate readiness
Before a gate or dungeon, confirm healing charges, one reliable defensive response, one posture plan, and enough sidearm resources for the encounter shape. If two of those are missing, explore a shorter branch first.
Transition to Mammon
Do not interpret access as readiness. Mammon's routes place more value on landmarks, traversal gates and boss-specific answers. Carry a proven weapon and Shell pairing, then expand instead of rebuilding everything at once.
What to check when progression stops
A closed path usually points to one of four missing pieces: the next Marrow Keep conversation, an uncleansed Beacon or corruption gate, a traversal condition, or a different region objective. Revisit the hub first, then compare the blocked route with the nearest named Beacon instead of sweeping the whole map again.
If combat rather than access is stopping progress, return to a familiar route and prove one change at a time: spend carried Gloom, upgrade one weapon layer, choose one defensive response and retest the same encounter.
- Hub state and required conversations checked.
- Nearest Beacon tagged or cleansed.
- Traversal condition identified.
- One Shell, weapon and defensive loop tested.
Use this walkthrough without spoiling the game
Read only to the next Beacon or gate. After reaching it, explore freely and return to the route when you no longer know which system is blocking progress.
Watch the route or mechanic
The transcript was reviewed during material collection. Use the video for visual landmarks and timing; use the written guide to keep the decision sequence visible.
Accessible sources
Official game, world and mechanics overview.
Playstack · Cold Symmetry · Checked Aug 24, 2026Official release, platform and system information.
Valve · Playstack · Checked Aug 24, 2026Visual route or mechanic evidence with an accessible English transcript.
YouTube field evidence · Checked Aug 24, 2026