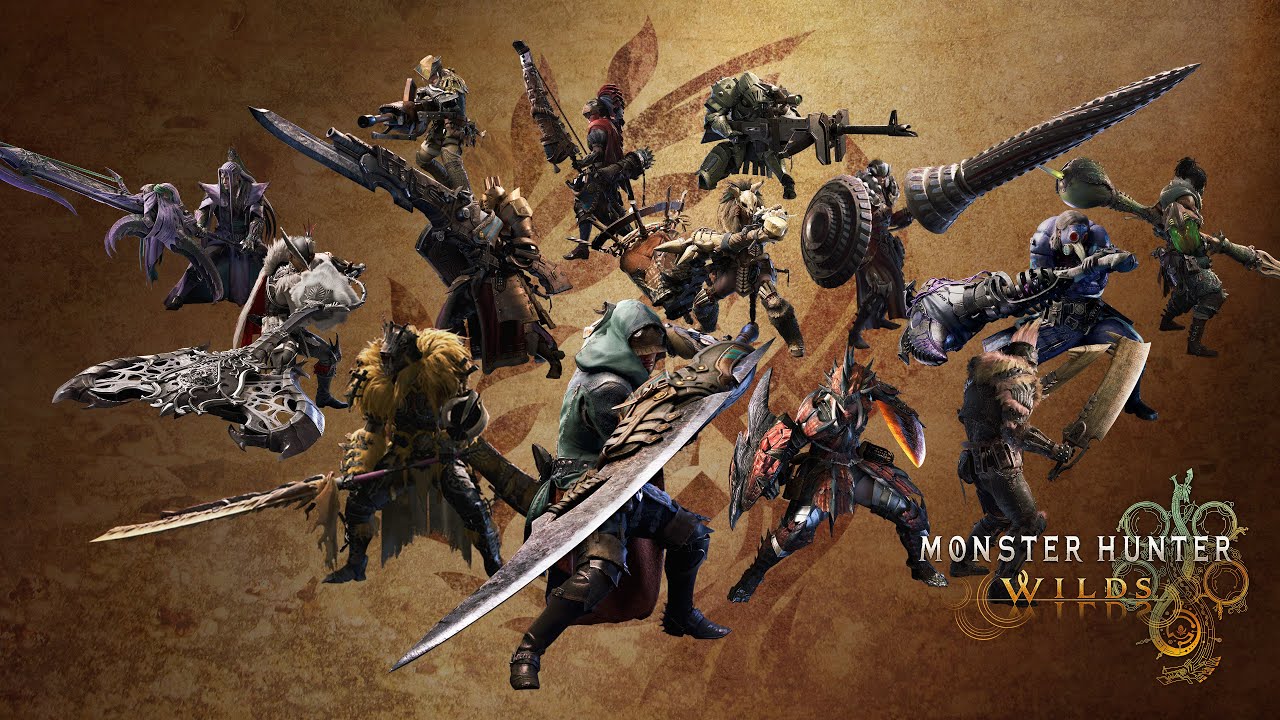
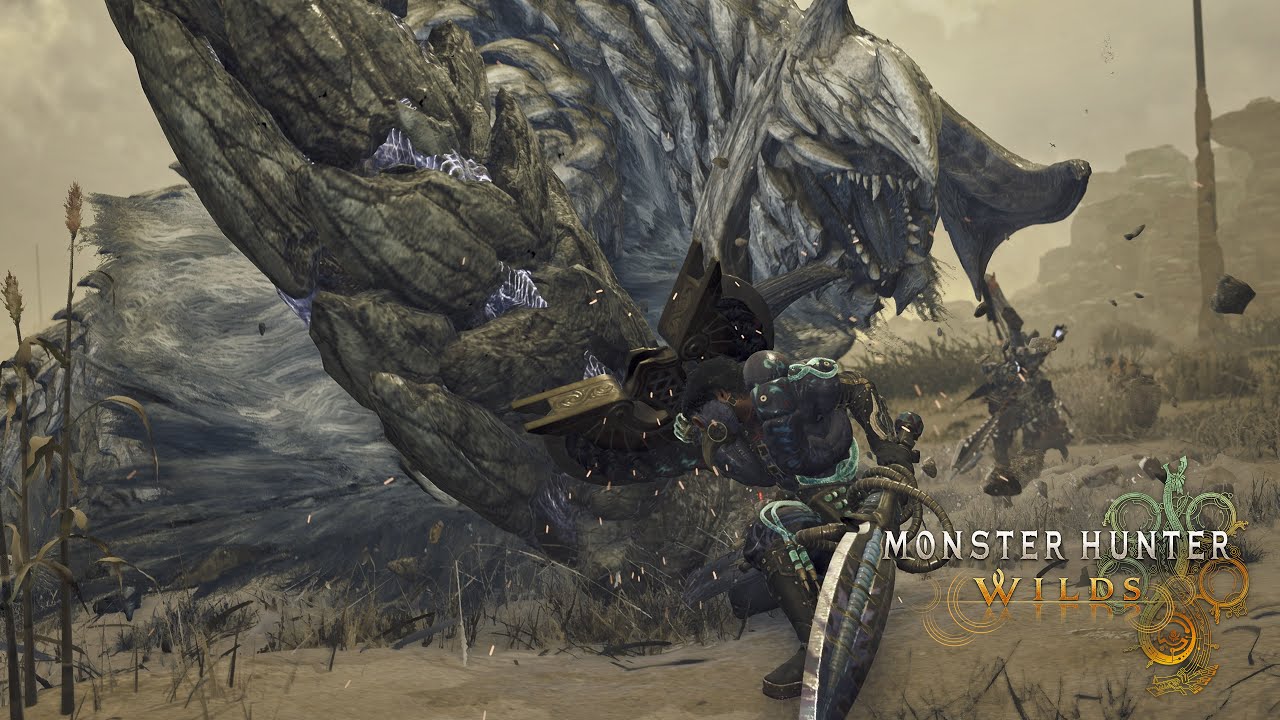
Hammer build priority: make the weapon loop work first
Use this default order: current weapon upgrade → charge timing → head access → one answer for safe recovery → stun conversion in the remaining space.
Start with the Learning recipe when the loop still breaks, move to Balanced when five hunts stay stable, and use Clean-run damage only after the same test shows that extra damage does not cost carts or weapon-loop repetitions.
Hammer three-step hunt plan
Use this sequence before changing equipment. It separates a loadout problem from a timing, positioning or resource problem, so each slot change has a reason.
- 01Take reachable head windows
Approach the side of the head that remains reachable after the monster's current action instead of circling for a perfect front angle.
Record: head contacts, time spent circling and unsafe approaches
- 02Match charge to the window
Release the charge level that lands before the recovery ends; a smaller confirmed hit is more useful than a larger late swing.
Record: charge level, landed hits and interrupted releases
- 03Convert the stun
End the setup in a stable position, then use the planned punish when repeated head hits create a stun.
Record: stuns created and full punishes completed
Change the build only when the hunt shows this
| Observed signal | Next hunt decision | Loadout response | Proof to keep it |
|---|---|---|---|
| You circle the head without attacking | Use the next reachable side-head window rather than waiting for a perfect angle. | Trade one damage job for access or recovery. | Head contacts increase without extra carts. |
| Charge releases after the opening | Choose a shorter release for that monster action. | Keep charge support only if it changes landed-hit frequency. | Late or whiffed releases fall over five hunts. |
| Stuns happen but damage does not follow | Plan the first punish before the stun and finish from stable footing. | Preserve the conversion loop instead of adding more stun buildup. | A complete punish follows a larger share of stuns. |
| Head pressure causes repeated carts | Reset when the monster turns; do not buy one extra swing with a heal. | Add one recovery answer and remove it once the read is stable. | Carts and forced heals fall without losing stun conversions. |
Monster Hunter Wilds Hammer build checkpoint
A usable Hammer build must pass four checks: the weapon upgrade is practical to maintain, charges release inside real openings, repeated head hits create stun opportunities, and the set leaves enough recovery to convert those stuns without carting.
| Build slot job | Keep it when | Replace it when | Field proof |
|---|---|---|---|
| Weapon upgrade | Its damage and maintenance fit the hunt you are actually clearing | Sharpness or crafting cost repeatedly stops the loop | Five matched hunts keep more active head pressure |
| Charge support | More charged attacks land inside readable openings | You still release after the opening closes | Count landed charges, not maximum training-room hits |
| Head and stun access | Repeated blunt head hits create openings you can use | You spend the hunt circling without attacking | Record stuns and the punish completed after each one |
| Recovery and damage | Extra damage stays active without adding carts | Greedy pressure forces heals or missed conversions | Compare median clear time, carts and successful stun punishes |
What the official Hammer material confirms
- Hammer is a mobile blunt weapon with powerful, destructive attacks.
- Its attacks can be charged for increased power.
- Repeated blows to a monster's head can stun it and create an opening.
These mechanics define the jobs a build must support. They do not prove that one named armor set, decoration package or damage claim is universally current.
Three Hammer build recipes
| Recipe | Use when | Skill-job order | Promotion test |
|---|---|---|---|
| Learning | The weapon loop breaks or mistakes repeatedly force healing | Charge timing → Head access → Safe recovery → survival | Finish five hunts with the intended loop and no repeated carts |
| Balanced | The loop works, but one resource or interruption still removes openings | Charge timing → Head access → one safe recovery answer → Stun conversion | Five hunts improve the median without losing loop repetitions |
| Clean-run damage | The loop, maintenance and recovery are already stable | Charge timing → minimum head access → damage that remains active | Beat Balanced across five matched hunts with no extra carts |
In the smithy, compare complete skill totals, slots, crafting cost and owned decorations. A β piece is useful only when your decorations can turn its extra slots into the job this recipe requires.
Fix the Hammer failure you can see
| Observed failure | Build response | Practice response |
|---|---|---|
| You chase the head without attacking | Prioritize access and recovery over damage | Use reachable head windows instead of circling for a perfect angle |
| Charged attacks arrive after the opening | Protect practical charge timing | Release the charge level the window supports |
| A stun occurs but little damage follows | Preserve the conversion loop | Start the planned punish from a stable position |
| Greedy head pressure causes carts | Add one survival or recovery answer | Reset when the monster turns rather than forcing another blow |
Prove this Hammer build in five matched hunts
- 01Save the baseline
Record weapon upgrade, armor, decorations, food, items and the exact quest before changing anything.
- 02Pass the loop check
Use the Training Area and in-game Weapon Controls guide until the intended resource and conversion are repeatable.
- 03Run one fixed quest five times
Record clear time, carts, successful loop repetitions, forced healing and maintenance stops.
- 04Change one job only
Replace one comfort, uptime or damage job and repeat the same quest under the same conditions.
- 05Keep the median winner
Keep the change only when the median improves without extra carts or fewer successful weapon loops.
Hammer build FAQ
What should a Hammer build prioritize in Monster Hunter Wilds?
Prioritize reliable head access, charge timing and one recovery answer. Damage matters after repeated head hits create stuns that you can consistently convert.
When should I add more damage to a Hammer build?
Add damage only after five matched hunts show that the weapon loop, resource economy and recovery remain stable without extra carts or lost openings.
Does this page claim one exact armor set is always best?
No. Progression, owned decorations, weapon reinforcement and the current client change the exact pieces. The recipes define what each slot must accomplish and how to prove the result.
Official Hammer sources
Official footage and description used to establish the Hammer mechanics on this page.
Monster Hunter · Checked Aug 20, 2026Official descriptions of all 14 weapon identities, resources and defensive or mobility tools.
PlayStation · Checked Aug 20, 2026Official instructions for the Training Area, Weapon Controls guide, Focus Mode, wounds and Seikret field maintenance.
PlayStation · Checked Aug 20, 2026