
Do this first
- 01Choose the tool from the job blocking progress, then confirm its current quality.
- 02Prepare five bars of the next metal and the exact gold price shown at the Blacksmith.
- 03Check tomorrow's weather, festivals and Clint's access before giving up the Watering Can.
- 04Use the tool first on drop-off day, then submit it before the shop closes.
- 05Collect it on the ready day and test the charged area or obstacle tier before planning the next upgrade.
Upgrade in the required order
The official-site-linked Stardew Valley Wiki says tool quality cannot skip tiers. A basic tool moves to copper, then steel, gold and iridium; each standard step uses five bars of the matching metal and the price shown at Clint's counter.
If the desired upgrade is missing, check the tool in the inventory, its current tier, the bar type and available gold. Owning iridium bars does not let a basic or copper tool jump directly to iridium.
- Copper: 5 Copper Bars and 2,000g
- Steel: 5 Iron Bars and 5,000g
- Gold: 5 Gold Bars and 10,000g
- Iridium: 5 Iridium Bars and 25,000g
Plan the two-day absence
An upgrade takes two days. You can use the tool on the drop-off day, wake without it the next day, and collect it on the following day when the Blacksmith is accessible.
Check the calendar before handing it over. A festival can leave the tool ready but the shop inaccessible, and after the Community Center is restored Clint may be unavailable on Friday unless the relevant schedule exception applies.
Time the Watering Can safely
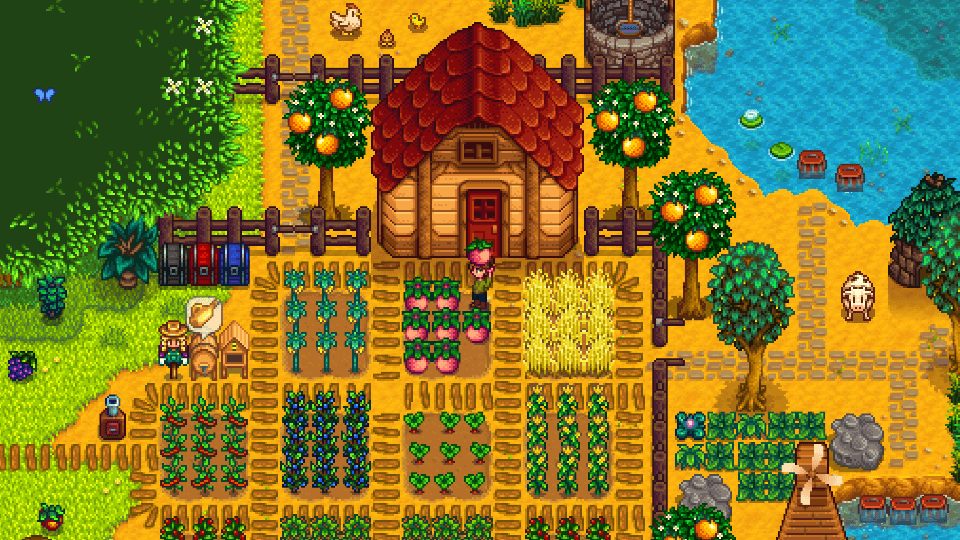
The maintained guide recommends delivering the Watering Can after watering on the day before forecast rain. Rain waters the next day, and the upgraded can is ready the day after that. Winter is another safe window when the active crop plan does not need daily watering.
Day 27 can work when ordinary season-ending crops will not need water on day 28, but multi-season crops can survive into the next season. Check the actual field instead of using the calendar trick blindly.
Choose by the blocked job and diagnose failure
Upgrade the Pickaxe when harder mine rocks or boulders block progress, the Axe for stumps and logs, and the Hoe or Watering Can when charged multi-tile work saves the most daily labor. The Trash Can and Pan solve different economy and gathering tasks.
If a charged tool still affects one tile, hold the use button until the area expands and confirm the tool tier. If the tool seems lost after a dangerous trip, check the bed, refrigerator and Mayor's Manor Lost and Found routes documented for returned basic tools before starting a new save.
Official sources
Upgrade order, two-day timing, proficiency and lost-tool recovery.
Stardew Valley Wiki · Checked Sep 28, 2026Current prices, five-bar costs, shop access, upgrade effects and festival boundaries.
Stardew Valley Wiki · Checked Sep 28, 2026Charged areas, two-night timing, weather, winter and season-end scheduling.
Stardew Valley Wiki · Checked Sep 28, 2026